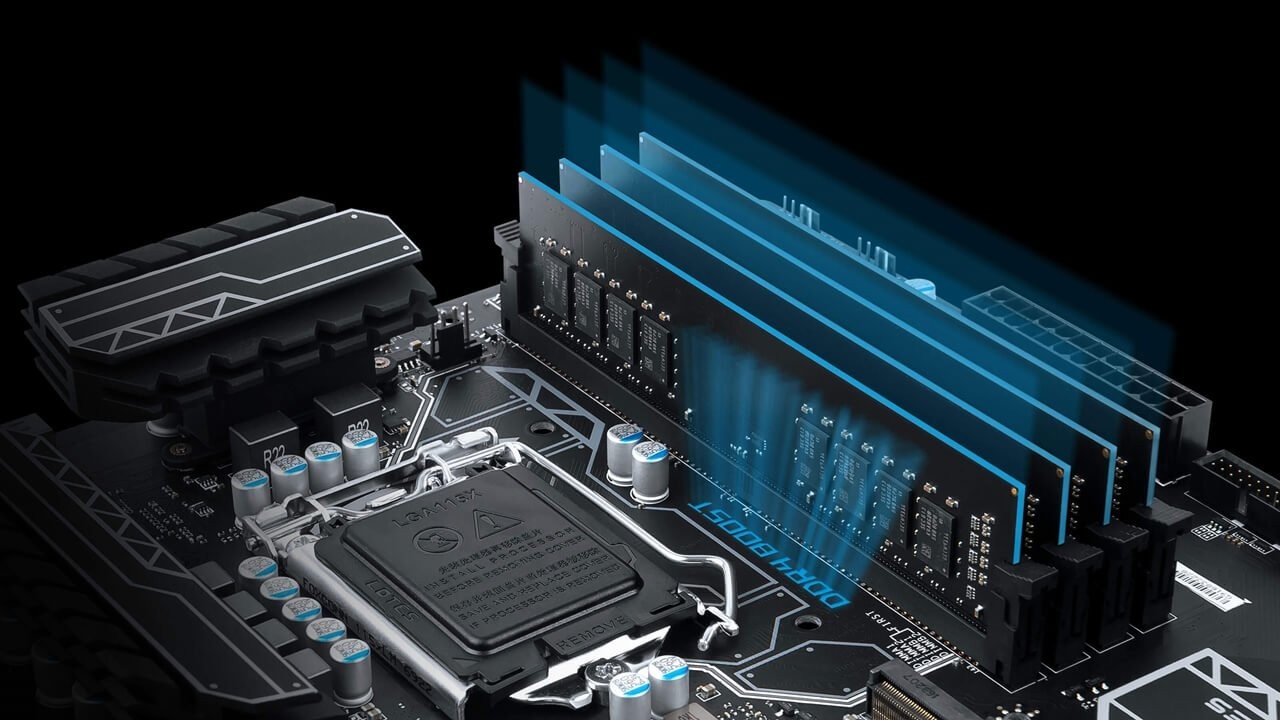
How to install memory (RAM) into a desktop PC?
Your desktop computer's speed, responsiveness, and ease of multitasking can all be immediately improved by adding memory (RAM). Today, we will explore how to install memory (RAM) into your desktop PC.

Installing memory (RAM) into a desktop PC is a straightforward process that can be completed in just a few minutes. As long as you follow the steps carefully and take the necessary precautions to avoid damaging your computer or the RAM module, you should be able to install RAM without any issues.
However, if you are not comfortable with opening up your computer case or handling computer hardware, it may be best to have a professional install the RAM for you. Nevertheless, if you are cool with PC hardware, just follow our guide to do perfect installation.
How to install RAM into your desktop PC? The perfect guide for everyone
Our guide will ensure that you do not miss any important steps and that the installation process is done correctly. Let's see the steps together.
1. Determine the type of RAM you need
Before purchasing new RAM, you need to make sure you know what type of RAM is compatible with your motherboard. You can find this information in your computer's documentation or by using a system information tool like CPU-Z or Speccy.
2. Purchase the RAM
Once you know the type of RAM you need, you can purchase it online or at a local electronics store. Make sure you purchase the correct amount of RAM for your needs.
3. Shut down your computer
Before installing the new RAM, shut down your computer and unplug it from the power source.
4. Open the computer case
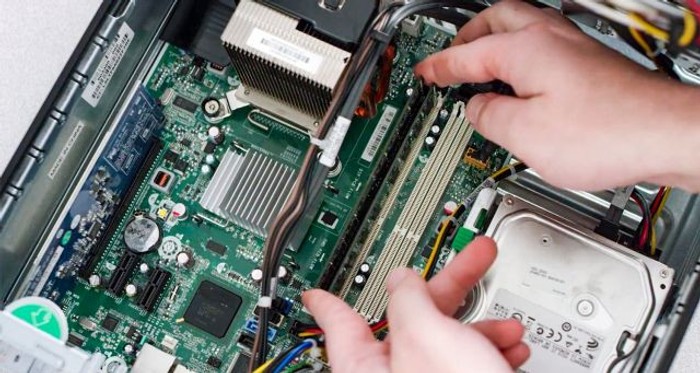
Depending on the model of your desktop, you may need to remove screws or press a button to release the case. Once the case is open, locate the RAM slots on the motherboard.
5. Remove old RAM (if required)
If you're replacing existing RAM, press down on the tabs on each side of the RAM module to release it from the slot. Gently pull the RAM out of the slot.
6. Insert new RAM
Hold the new RAM module by the edges and align the notch on the module with the notch in the RAM slot. Make sure the module is seated firmly and evenly, and press down on the module until the tabs on each side snap into place.

7. Power up and test
Once the new RAM is installed, replace the computer case, plug in the power source, and power on your computer. If your computer doesn't boot up or displays errors, you may need to check the RAM installation or try a different RAM module.
Installing RAM correctly can improve your computer's performance, and following the manufacturer's instructions and our guide can help ensure a successful installation.
 What are the risks of overclocking a GPU?Hardware


